How to Make Your Own Wine From Grapes at Home

Making your own wine from grapes at home can be an incredibly rewarding experience. It allows you to explore the art of winemaking, understand the nuances of fermentation, and craft something uniquely yours. While the process requires patience and a bit of equipment, it’s surprisingly approachable for beginners.
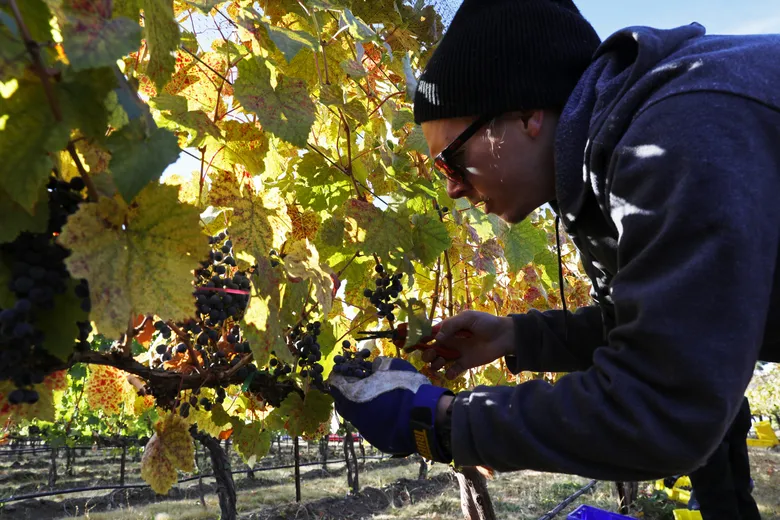
Selecting the Right Grapes
The foundation of good wine lies in the grapes. Choose ripe, healthy grapes—free from mold, rot, or pests. If you grow your own grapes, harvest them when they’re fully ripe (usually late summer or early fall, depending on your location and variety). If purchasing, opt for wine grape varieties like Concord, Cabernet Sauvignon, or Zinfandel, as table grapes have higher water content and may produce weaker wine.
You’ll need roughly 20 pounds (9 kg) of grapes to produce a gallon of wine. For a small batch, that might be enough; for a larger yield, scale accordingly.
Equipment You’ll Need
-
Large food-grade plastic bucket or fermentation bin
-
Potato masher or grape crusher
-
Glass carboy (fermentation jug)
-
Airlock and rubber bung
-
Siphon hose
-
Wine bottles and corks
-
Sanitizing solution (e.g., Campden tablets or Star San)
-
Hydrometer (optional but helpful for measuring sugar content)
Proper sanitation is critical in winemaking. Before you begin, clean and sanitize all equipment thoroughly to prevent unwanted bacteria or wild yeasts from spoiling your wine.
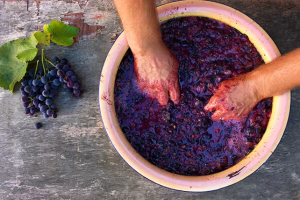
Crushing and Destemming the Grapes
Place your grapes in a sanitized fermentation bin. Using clean hands, a potato masher, or a grape crusher, gently crush the grapes to release the juice. Don’t worry about separating the skins or seeds at this stage. For red wines, leave the skins in the must (the mix of juice, skins, and seeds) during fermentation, as this contributes to the color and tannins. For white wine, you can press and strain out the skins before fermentation.
Measuring Sugar and Adjusting if Necessary
Using a hydrometer, you can measure the sugar content (known as Brix or specific gravity) of your must. Ideal readings for wine are typically between 22–25 Brix. If the sugar is too low, add cane sugar or grape concentrate to raise it. If it’s too high, you can dilute slightly with water.
The sugar content will determine your wine’s final alcohol level, so adjusting it properly helps control the fermentation outcome.
Adding Yeast and Starting Fermentation
Although wild yeasts are present on grapes and in the air, it’s more reliable to use a commercial wine yeast like Lalvin EC-1118 or Red Star Premier Blanc. These strains are designed for winemaking and offer consistent results.
Before adding yeast, crush one Campden tablet per gallon of must to kill wild yeasts and bacteria. Let the must sit for 24 hours, then sprinkle in the yeast. Do not stir it in—just let it sit on top. Cover the fermentation bin with a clean cloth or lid (not airtight) and place it in a warm location (65–75°F or 18–24°C).
Fermentation should begin within 1–2 days, signaled by bubbling, fizzing, or foaming.
Primary Fermentation
During this stage, which lasts 5–7 days, stir the must daily with a sanitized spoon and punch down the “cap” (skins that float to the top). Monitor the temperature and bubbling. Once bubbling slows, and the specific gravity drops to about 1.010 (or when it tastes less sweet), it’s time to move to the next stage.
Straining and Secondary Fermentation
Strain the juice from the must using a sanitized mesh bag, colander, or cheesecloth. Press out as much juice as possible. Transfer the liquid into a glass carboy using a funnel and attach an airlock. Fill the carboy nearly to the top, leaving minimal airspace.
Place the carboy in a cool, dark location (around 60–65°F or 15–18°C). Fermentation will slow down but continue, usually for 4–6 weeks. You’ll notice bubbles in the airlock as carbon dioxide escapes. Once bubbling stops and the wine clears, you’re ready for the next step.
Racking the Wine
“Racking” is the process of siphoning the wine off the sediment (called lees) into a clean carboy. Use a sanitized siphon hose and avoid disturbing the sediment. Racking helps clarify the wine and prevents off-flavors from developing.
You may need to rack the wine multiple times over a few months to achieve clarity. After each racking, keep the carboy sealed with an airlock.
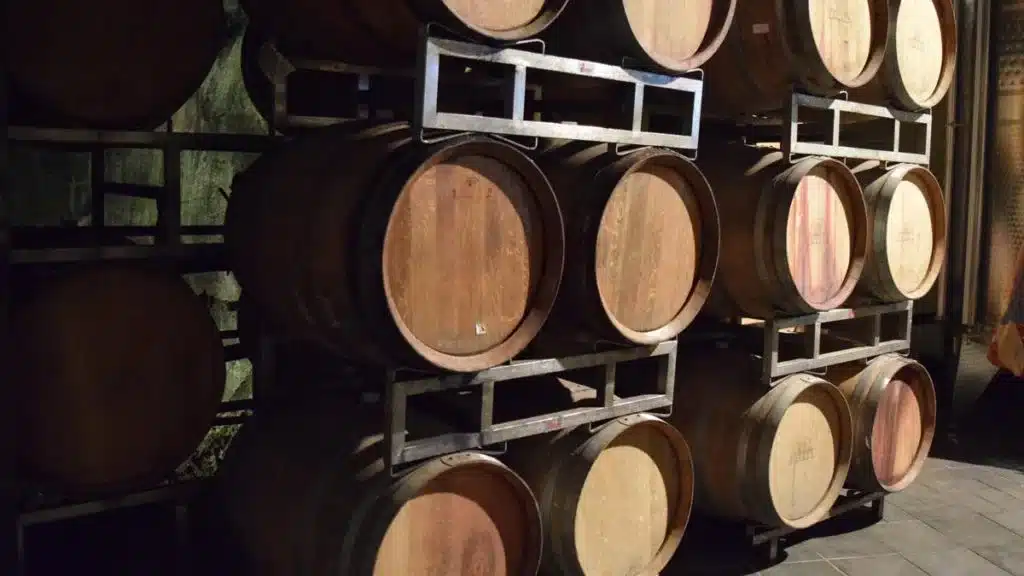
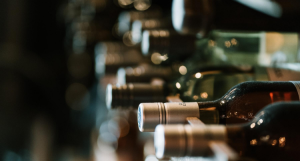
Bottling and Aging
Once your wine is clear and completely fermented (specific gravity stable at around 0.998–1.000), it’s time to bottle. Sanitize your bottles and corks, then siphon the wine in, leaving an inch of space at the top. Cork each bottle and store upright for a few days to allow the corks to expand, then lay them on their sides in a cool, dark place.
Wine improves with age. While your homemade wine can be consumed after a few weeks, aging for 6–12 months will allow the flavors to develop beautifully. Keep a few notes about the batch—grape variety, sugar levels, dates—to help improve future batches.
Conclusion
Making wine from grapes at home is part science, part artistry, and entirely satisfying. With attention to cleanliness, quality grapes, and patience through the process, you can craft a delicious wine that rivals store-bought bottles. Whether you’re doing it as a hobby or dreaming of your own label someday, homemade wine is a delightful journey from vine to glass. Cheers!


Post Comment