How To Make Wine In Just 10 Weeks

Making wine at home may sound like a slow and complicated process, but with a bit of planning and the right ingredients, you can enjoy your own homemade wine in just 10 weeks. While some wines benefit from months or even years of aging, a quick homebrew wine can still be delicious and satisfying. This guide outlines a straightforward, beginner-friendly method to create wine in only 10 weeks, using simple equipment and techniques.
Getting Started: Ingredients and Supplies
To make wine in a short timeframe, it’s important to keep the process simple and focused. You’ll need the following ingredients:
-
Fresh grapes or grape juice concentrate (around 1 gallon per batch)
-
Sugar (to increase alcohol content)
-
Wine yeast (such as Lalvin EC-1118 or Red Star Premier Blanc)
-
Campden tablets (to kill off wild yeast and bacteria)
-
Yeast nutrient (optional, but helps speed fermentation)
-
Pectic enzyme (if using fruit juice, helps clarify wine)
-
Potassium sorbate (to stabilize wine before bottling)
And the following equipment:
-
Fermentation bucket with lid (food-grade plastic)
-
Glass carboy (1-gallon or 5-gallon depending on batch size)
-
Airlock and rubber bung
-
Siphon hose
-
Hydrometer (to measure sugar levels)
-
Wine bottles and corks
-
Sanitizer (like Star San or a Campden solution)
Before you begin, sanitize all equipment to prevent contamination. Clean tools and containers will ensure that your wine ferments properly and doesn’t spoil.
Week 1: Preparing the Must and Starting Fermentation
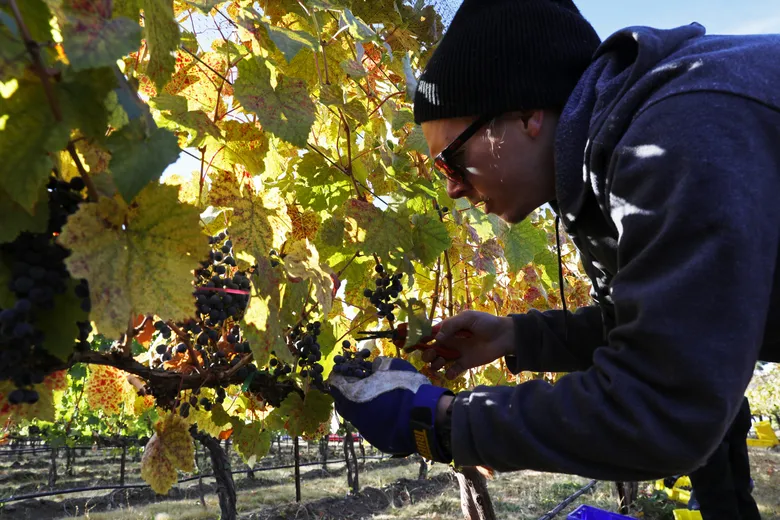
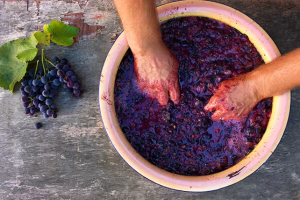
If you’re using grapes, crush and de-stem them to release the juice (known as must). If using grape juice concentrate, dilute it with water as per instructions. Add sugar to increase the potential alcohol content—about 2 pounds per gallon for 10–12% alcohol by volume (ABV). Stir well to dissolve.
Crush 1 Campden tablet per gallon and add to the must. This kills off wild yeast and bacteria. Let the must sit for 24 hours in the covered fermentation bucket.
After 24 hours, sprinkle in the wine yeast. Do not stir it in—just let it rehydrate naturally. Add yeast nutrient and pectic enzyme if you’re using them. Seal the bucket with the lid and insert the airlock. Place it in a warm, dark area (65–75°F or 18–24°C).
Fermentation will begin within 1–2 days. You’ll see bubbles in the airlock and foam forming on the surface.
Weeks 2–3: Primary Fermentation
During this period, yeast converts the sugars into alcohol and carbon dioxide. Stir the must once daily with a sanitized spoon. Monitor the activity—lots of bubbling and fizzing is a good sign.
Use a hydrometer after one week to check the specific gravity (SG). It will drop from around 1.090 to below 1.020 as fermentation progresses. By the end of week 3, the SG should be close to 1.010 or lower.
At this point, strain out any solids if using whole fruit, and siphon the wine into a clean glass carboy for secondary fermentation. Attach the airlock and return it to a cool, dark place.
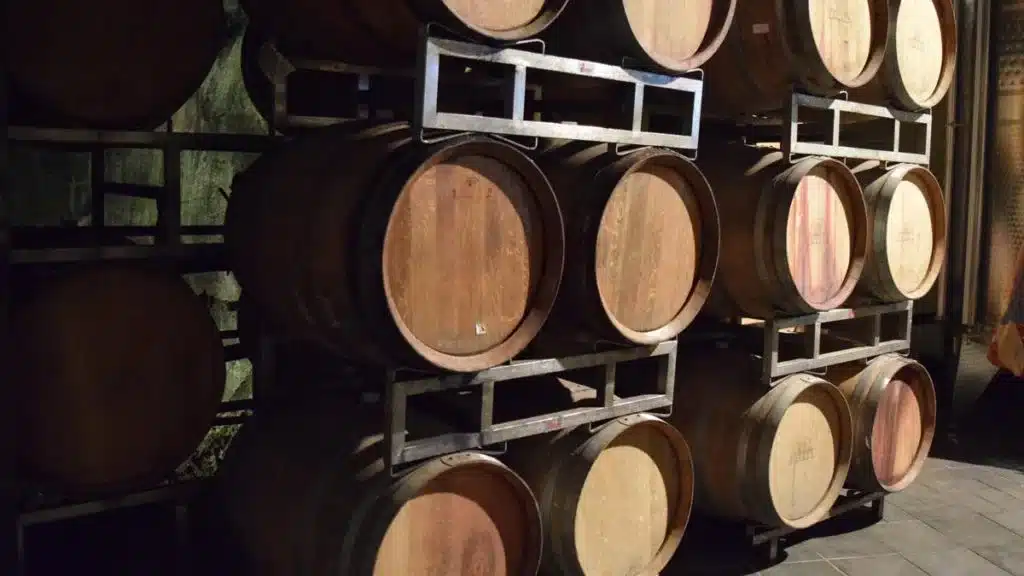
Weeks 4–7: Secondary Fermentation and Clarification
Now the wine begins to clear and develop flavor. Fermentation slows during this stage, and the yeast starts to settle at the bottom as sediment.
Leave the wine undisturbed, and allow it to clarify naturally. You can rack (siphon) the wine once during this stage into another clean carboy to help it clear faster and remove sediment. Be sure not to splash the wine—oxygen is no longer your friend at this point.
If the wine is still cloudy by week 7, consider using a wine fining agent like bentonite or isinglass to help it clear more quickly.
Week 8: Stabilizing the Wine
By now, your wine should be mostly clear and fully fermented. Check the hydrometer reading—it should be at or below 1.000. If it stays consistent over 2–3 days, fermentation is complete.
At this stage, you’ll want to stabilize the wine to prevent further fermentation after bottling. Add 1 Campden tablet and ½ teaspoon of potassium sorbate per gallon. This will stop any remaining yeast activity and prevent bottle explosions or fizzy wine.
Let the wine sit for a few more days so the stabilizers do their job.
Week 9: Bottling the Wine
Once your wine is clear and stable, it’s time to bottle. Sanitize your wine bottles and corks. Siphon the wine into bottles, leaving about an inch of headspace at the top. Cork the bottles and label them with the date and batch info.
You can enjoy your wine now if you’re eager, but it will improve with a bit of rest.
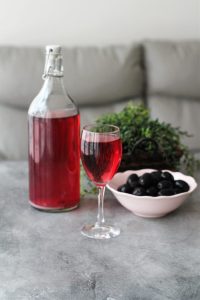
Week 10: Enjoying Your Homemade Wine
After a week in the bottle, your wine will taste smoother. Though it may not have the complexity of long-aged wines, it will be drinkable and enjoyable—especially knowing you made it yourself. If you can resist, let a few bottles sit for another month or two to experience how it improves with time.
Conclusion
Making wine in just 10 weeks is completely achievable and satisfying. By following a clean, efficient process and using quality ingredients, you can produce a delicious homemade wine that’s ready to drink in a short amount of time. With each batch, you’ll learn more about flavors, fermentation, and the little tweaks that make a wine uniquely yours. So gather your supplies, start your timer, and get ready to raise a glass to your very own creation. Cheers!


Post Comment